Share to


Creating the Ultimate Home Entertainment Setup with Airpulse A80 or A100 Active Speakers and SW8 Subwoofer
Step 1: Choosing the Right Room
Choose a room that is well-ventilated, spacious, and has minimal background noise. Ideally, the room should be rectangular or square-shaped, allowing for better sound distribution. Avoid placing the speakers close to walls or corners, as this can lead to excessive bass buildup.
Step 2: Unboxing the Speakers and Subwoofer
Carefully unbox the Airpulse A80/A100 active speakers, Airpulse SW8 subwoofer, and turntable. Remove any protective packaging and ensure that all cables and components are present.
Step 3: Positioning the Speakers
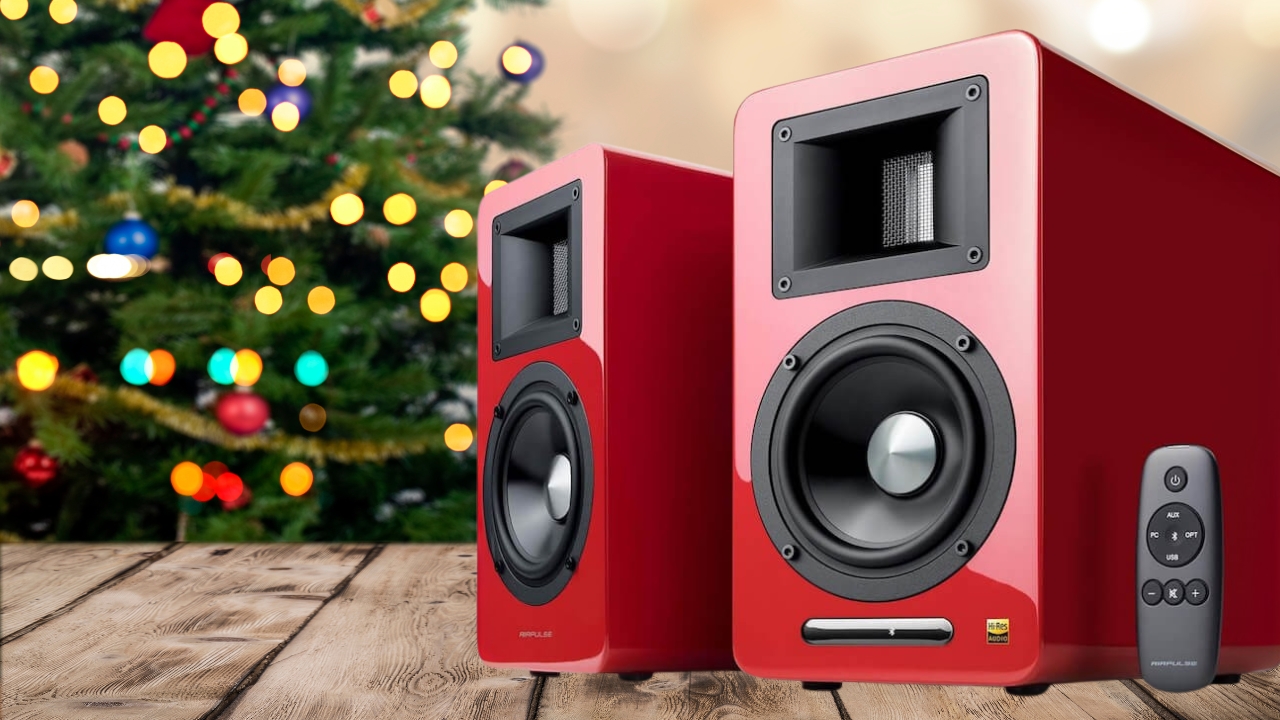
Place the Airpulse A80/A100 speakers on a pair of sturdy, level speaker stands, ensuring they are at ear height. Position them at a distance equal to their height from the main listening position. Toe-in the speakers slightly, so that their inner side edges point towards the listening position. This arrangement allows for a more focused and coherent soundstage.
Step 4: Connecting the Speakers
Connect the Airpulse A80/A100 active speakers using the provided speaker cables. Connect the left speaker to the amplifier's "L" output, and the right speaker to the "R" output. Make sure to use high-quality cables for optimal sound quality.
Step 5: Connecting the Subwoofer
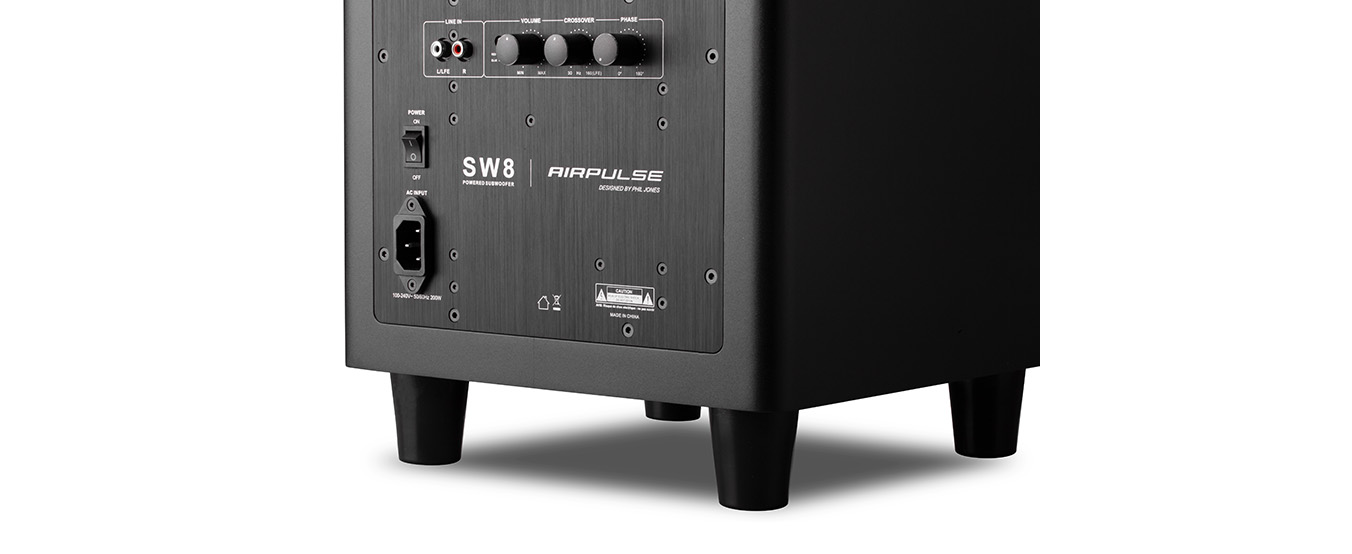
Connect the Airpulse SW8 subwoofer to the amplifier using an RCA subwoofer cable. Connect one end of the cable to the amplifier's subwoofer output (or pre-amp output) and the other end to the subwoofer's Line In L/R (RCA) inputs.
Step 6: Setting Up the Turntable
Place the turntable on a level surface, ideally on a dedicated turntable stand or a massive, solid piece of furniture. Connect the turntable to the amplifier using a suitable phono cable. If the turntable does not have a built-in pre-amp, you will need to connect it to the amplifier's phono input. If the turntable has a built-in pre-amp, connect it to the amplifier's Line In/Aux input.
Step 7: Connecting the Amplifier
Connect the amplifier to a power source and switch it on. Ensure that all volume levels are turned down to prevent any sudden loud noises.
Step 8: Configuring the Subwoofer (Optional)
If your amplifier has a built-in subwoofer crossover, you can set the crossover frequency to around 80-100 Hz to ensure proper integration between the speakers and the subwoofer. If your amplifier doesn't have a built-in crossover, you can adjust the subwoofer's volume level and frequency control to achieve a seamless blend with the main speakers.
Step 9: Calibrating the Turntable (Optional)
Calibrate the turntable's tracking force and anti-skate settings, as recommended by the manufacturer, to ensure proper vinyl playback.
Step 10: Testing and Fine-Tuning
Test the system by playing a familiar track and fine-tune the positioning and settings of the speakers and subwoofer. Make adjustments as necessary, ensuring that the bass is balanced, and the soundstage is coherent and spacious.
Now, you're ready to enjoy your optimum home entertainment setup with Airpulse A80/A100 active speakers, Airpulse SW8 subwoofer, and a turntable of your choice. Happy listening!